|
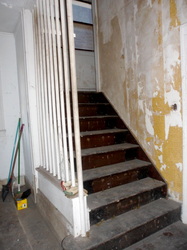
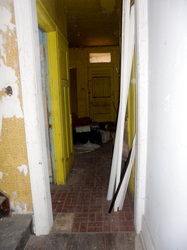
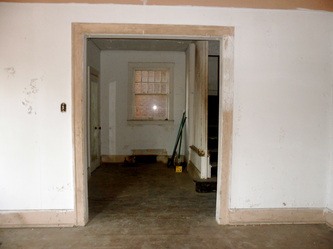
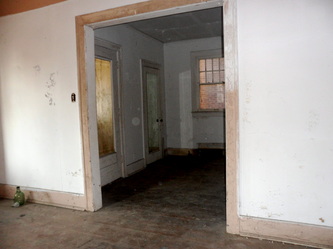
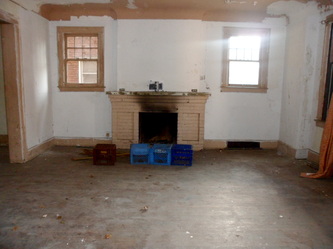
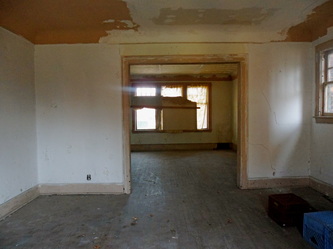
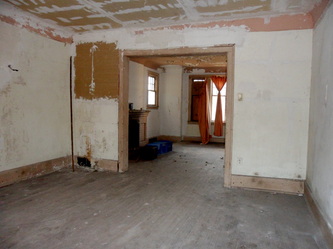
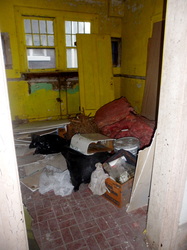
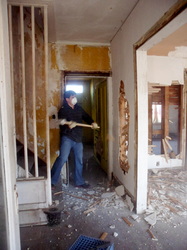
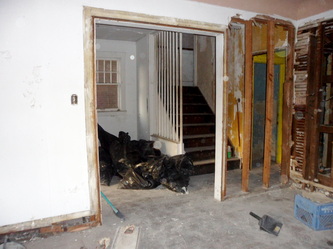
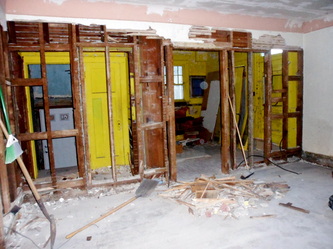
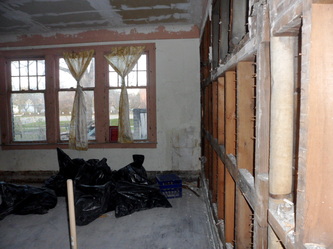
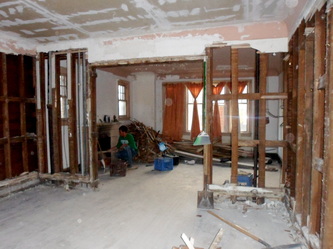
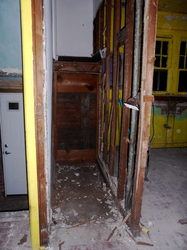
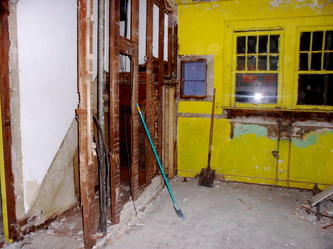
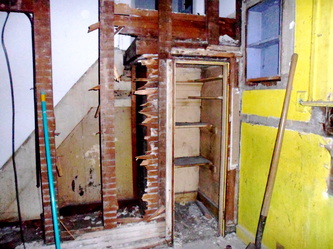
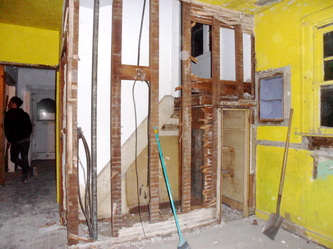
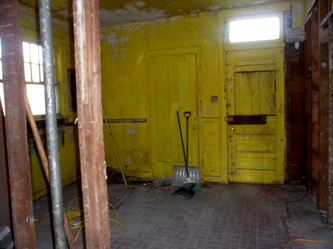
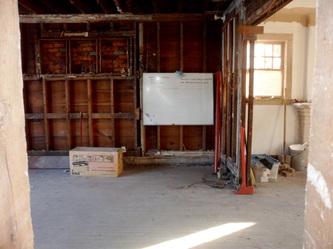
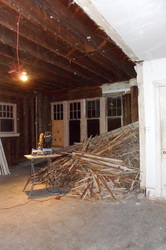
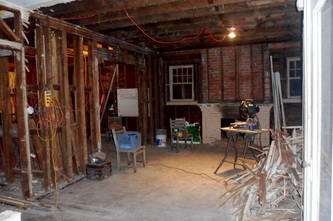
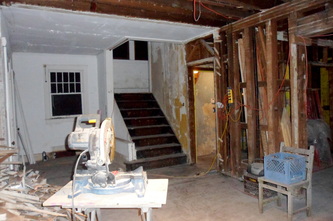
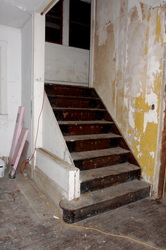
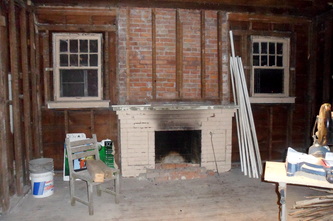
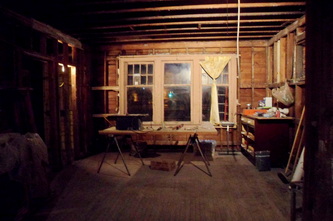
While progress was being made outside, things were happening inside as well. There was pretty extensive water damage (from the bathroom above) and bad plaster repair jobs to the ceiling of the first floor. I struggled with whether or not to demo the majority of the first floor, or to try to save and repair the cove ceilings. After pulling away an area of damaged-beyond-repair plaster cove, it was discovered that the cove was not original after all! Good news! I really would have hated to remove an original feature of the house, but since it was added later (and covered up the true original detail), I wasn't broken hearted over it. The original floor plan of the first level consisted of a small entryway, leading to a decent sized foyer with a coat closet. To the right was the living room (in the front corner of the house), then the dining room (back corner). To the left was a tiny kitchen with a couple built-in cabinets in the hallway which led out of the kitchen, back toward the front of the house, with a second steep and narrow set of stairs going up, and stairs going down to the basement. Got your bearings? Maybe another photo tour will help. This set was taken after the first cleanup, well, relocation of other people's icky, and I mean icky, stuff. It sat in the old kitchen for awhile, awaiting the delivery of the dumpster. As always, click on the photos to read my captions on each one. As soon as I set foot in this house, my designer mind went reeling, and hasn't stopped since. Besides settling on demoing most of the first floor plaster walls and ceilings (to remove damage, to ease the installation of electrical and water lines, and to enable the addition of insulation), I also needed to come up with a new floor plan that would work for me. I loved the entry, foyer, closet and front staircase location. What wasn't going to work was the lack of a bathroom on the first floor, and the tiny kitchen tucked into the back corner. Since there wasn't any reason to keep the 2nd set of stairs going up off the old kitchen (I assume these were added for the hired help, turns out they weren't even original), I decided to take them out and use their footprint (plus a few more square feet) for a 1st floor half bath. Like a lot of people these days, for me, the kitchen is the heart of the home; it's where I spend the most time, and where people always congregate when I have company. In my current house in Royal Oak, there is a room meant to be a dining room, but it was never used that way (everyone sits around the kitchen island), so I moved out the big dining table and put in a couple comfy little upholstered chairs and a side table, and the space was transformed into functional living space. I sit there daily with my coffee and read emails, etc. The point is, just because a space is meant for a particular purpose, doesn't at all mean you have to use it that way! So at Seyburn (oh, by the way, that's what I call my Detroit house), I intend to maximize the usability of each and every square foot of space. In Royal Oak there are entire rooms that don't even get used. That's not what I want for Seyburn. So back to the kitchen, haha...I lost that train of thought real quick! I've decided to put the kitchen where the large dining room was. Did I mention that the interior walls of the first floor are all coming down? Yep, open floor plan, it will be. As an interesting side note, a lot of the things that I lamented over, not wanting to disrespect the character of the house, were found to be originally closer to the way that I actually want it! Like the 2nd staircase (when it was taken out you could see evidence in the way the floors were laid and the walls were finished that at one time it wasn't there) and the opening between the dining room and kitchen was decreased substantially, and the living room was once completely open to the foyer (both seen in the construction hidden under the plaster and in the flooring). My dad and I spend a lot of time acting as house detectives; it's so interesting to try to uncover the secrets of a 100 year old (almost, it was built in 1914) house. I suppose this post is getting a bit long, so I'll leave you with some first floor demo pictures. Don't forget to click on the first pic to scroll through the full size images! Just in case you didn't have time to read all my photo captions, an important note is that I'm saving and reusing everything that I can, from the lumber to the lath, I've even saved that teal cedar siding that was on the addition...I have an interesting plan for it! Thanks for reading along, and please, if you have any questions or comments, don't hesitate to leave a message below or send one through the get in touch tab.
0 Comments
Leave a Reply. |
 RSS Feed
